|
|
||||
|

| TITLE | FUN WITH PAINT | ||||
| DESCRIPTION | Paper, paint, brushes and some unusual techniques for making art | ||||
|
DETAILS |
STRING PAINTING: You will need string, yarn, thread,
paint, brush and paper. Drop string into a container of paint, fish out
with a brush, wiping off the excess with your brush on the side of the
container. Drag the string around on the paper by moving your arm up and
down. Do the same with yarn and thread using different colors.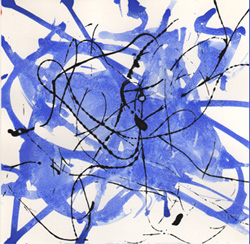 STRAW PAINTING: You will need a smooth surfaced paper, straws, paint, and a spoon to drop pools of paint on your paper. Add water if the paint is too thick. Point the end of the straw in the direction you want the paint to go and BLOW!! 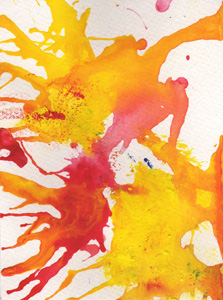 TAP PAINTING: Load your brush with paint. Hold it over your paper and tap the brush with the index finger of your other hand. You’ll get lots of nice splashes. Use several colors. 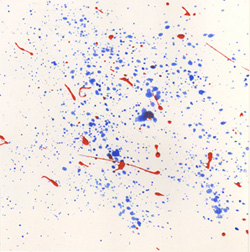 CRAYON RESIST: You need wax crayons, white paper, paint and a brush. Draw a design with crayons, press down hard to make heavy lines. Cover the crayon drawing with thin paint mixed with water. The paint doesn’t adhere to the crayons making an unusual picture. 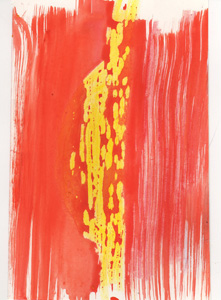 MONO PRINT: Make a painting. While it’s still wet, cover it with another paper. Hold the papers in place and rub the top sheet with the palm of your hand. Remove and you have a print of your painting. Or paint on a plastic cutting board, lay a clean sheet of paper on top, rub with the palm of your hand. Presto, another painting.  BLOT PAINTING: Use paper with a smooth surface and some thickness for best results. Fold paper in half, then open. Paint one side. Fold paper together. Rub one side with the palm of your hand. Open to interesting design. 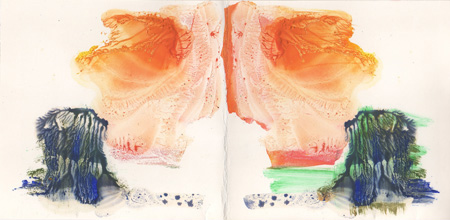 COLOR ON COLOR: Paint on top of your colors. If you let the color dry before adding another color, the original color will show through. Make sure the additional color is a little thinner than the original for this effect. If you paint wet on wet, the colors will mix as the blue and yellow turned to green in our example. If you add too many colors you’ll get mud. 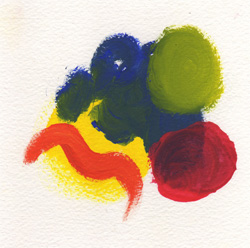 ROLLER PAINTING: You will need a roller for this paint project. The paint store has little ones that are perfect. You can put your paint in a flat pan and roll your roller like you were going to paint a wall. Or, you can dab bits of different color on the roller, roll it on your paper and see what happens. Again you can do wet on wet for mixed colors, or let the work dry between applications. For our example, we did both. 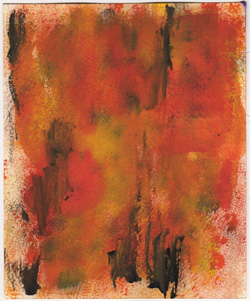 SQUEEZE BOTTLE: You will need empty, plastic squeeze bottles. I didn’t have any, so at the craft store I bought some paint packaged in squeeze bottles called Scribbles. It’s 3D paint producing a raised effect. If you’re using regular water based paint in your own bottles and it’s too runny, add a little liquid starch. Hold the bottle above the paper and squeeze. Raise and lower the bottle to change the size of the paint drops. Try different bottles and colors. Place the tip of the bottle on the paper and move it around. Some modern art sure looks like a squeeze bottle technique was used in the process! 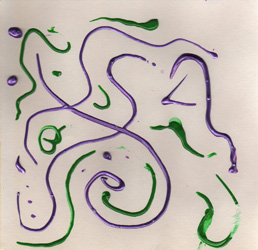 WET CHALK: You will need soft, colored chalks, a sponge, a cup of water, and paper with some body, like smooth sketch pad paper. Wet the paper with the sponge. Dip the chalk in water, apply it to the paper. You can use the tip or roll it on it’s side for different effects. Use your fingers to move the color around. Add different colors, let them run together. Experiment, the effects are wonderfully watery. 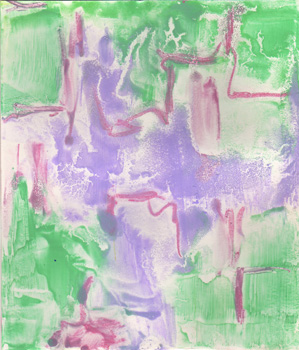 ROLLING YOUR BRUSH: Fill your brush with paint, lay it on it’s side on your paper, and roll it away from you in one direction creating a wavy line. 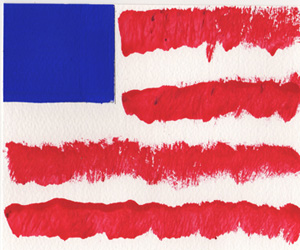 TWISTING YOUR BRUSH: Try different moves with your brush. Fill it with paint, put it point down on your paper and twist. Circles! Turn them into balloons by adding string and the mouthpiece! 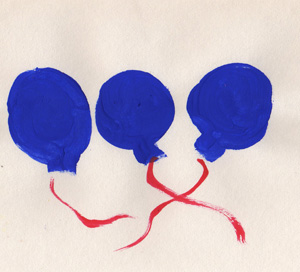 |
M | |||
| AGE RANGE | Pre-school to 15 and up | ||||
| GENDER | All | ||||
| MATERIALS NEEDED | See details above. Add smocks, water, and clean up rags | ||||
| SKILLS NEEDED | Manual dexterity | ||||
| TIME TO PREPARE (minutes) | 30 | ||||
| TIME TO MAKE (Minutes) | As long as you want. | ||||
| PHOTOS & SKETCHES | See above | ||||
| MY RATING (1-10) | 10 Rating Formula | ||||
| ALL RATINGS (1-10) | 10 | ||||
| NAME | Suzy Smith | ||||
| COMMENTS |
|
|
COMMENTS/RATING |
Click to add COMMENTS or a RATING for this
activity. Click to submit an ART or CRAFT project. |
